
Dermaplaning Oil: How to Prevent Razor Burn
Most dermaplaning irritation is preventable. The pre-shave oil step is the one most people skip — and the reason their blade drags, nicks, and burns.

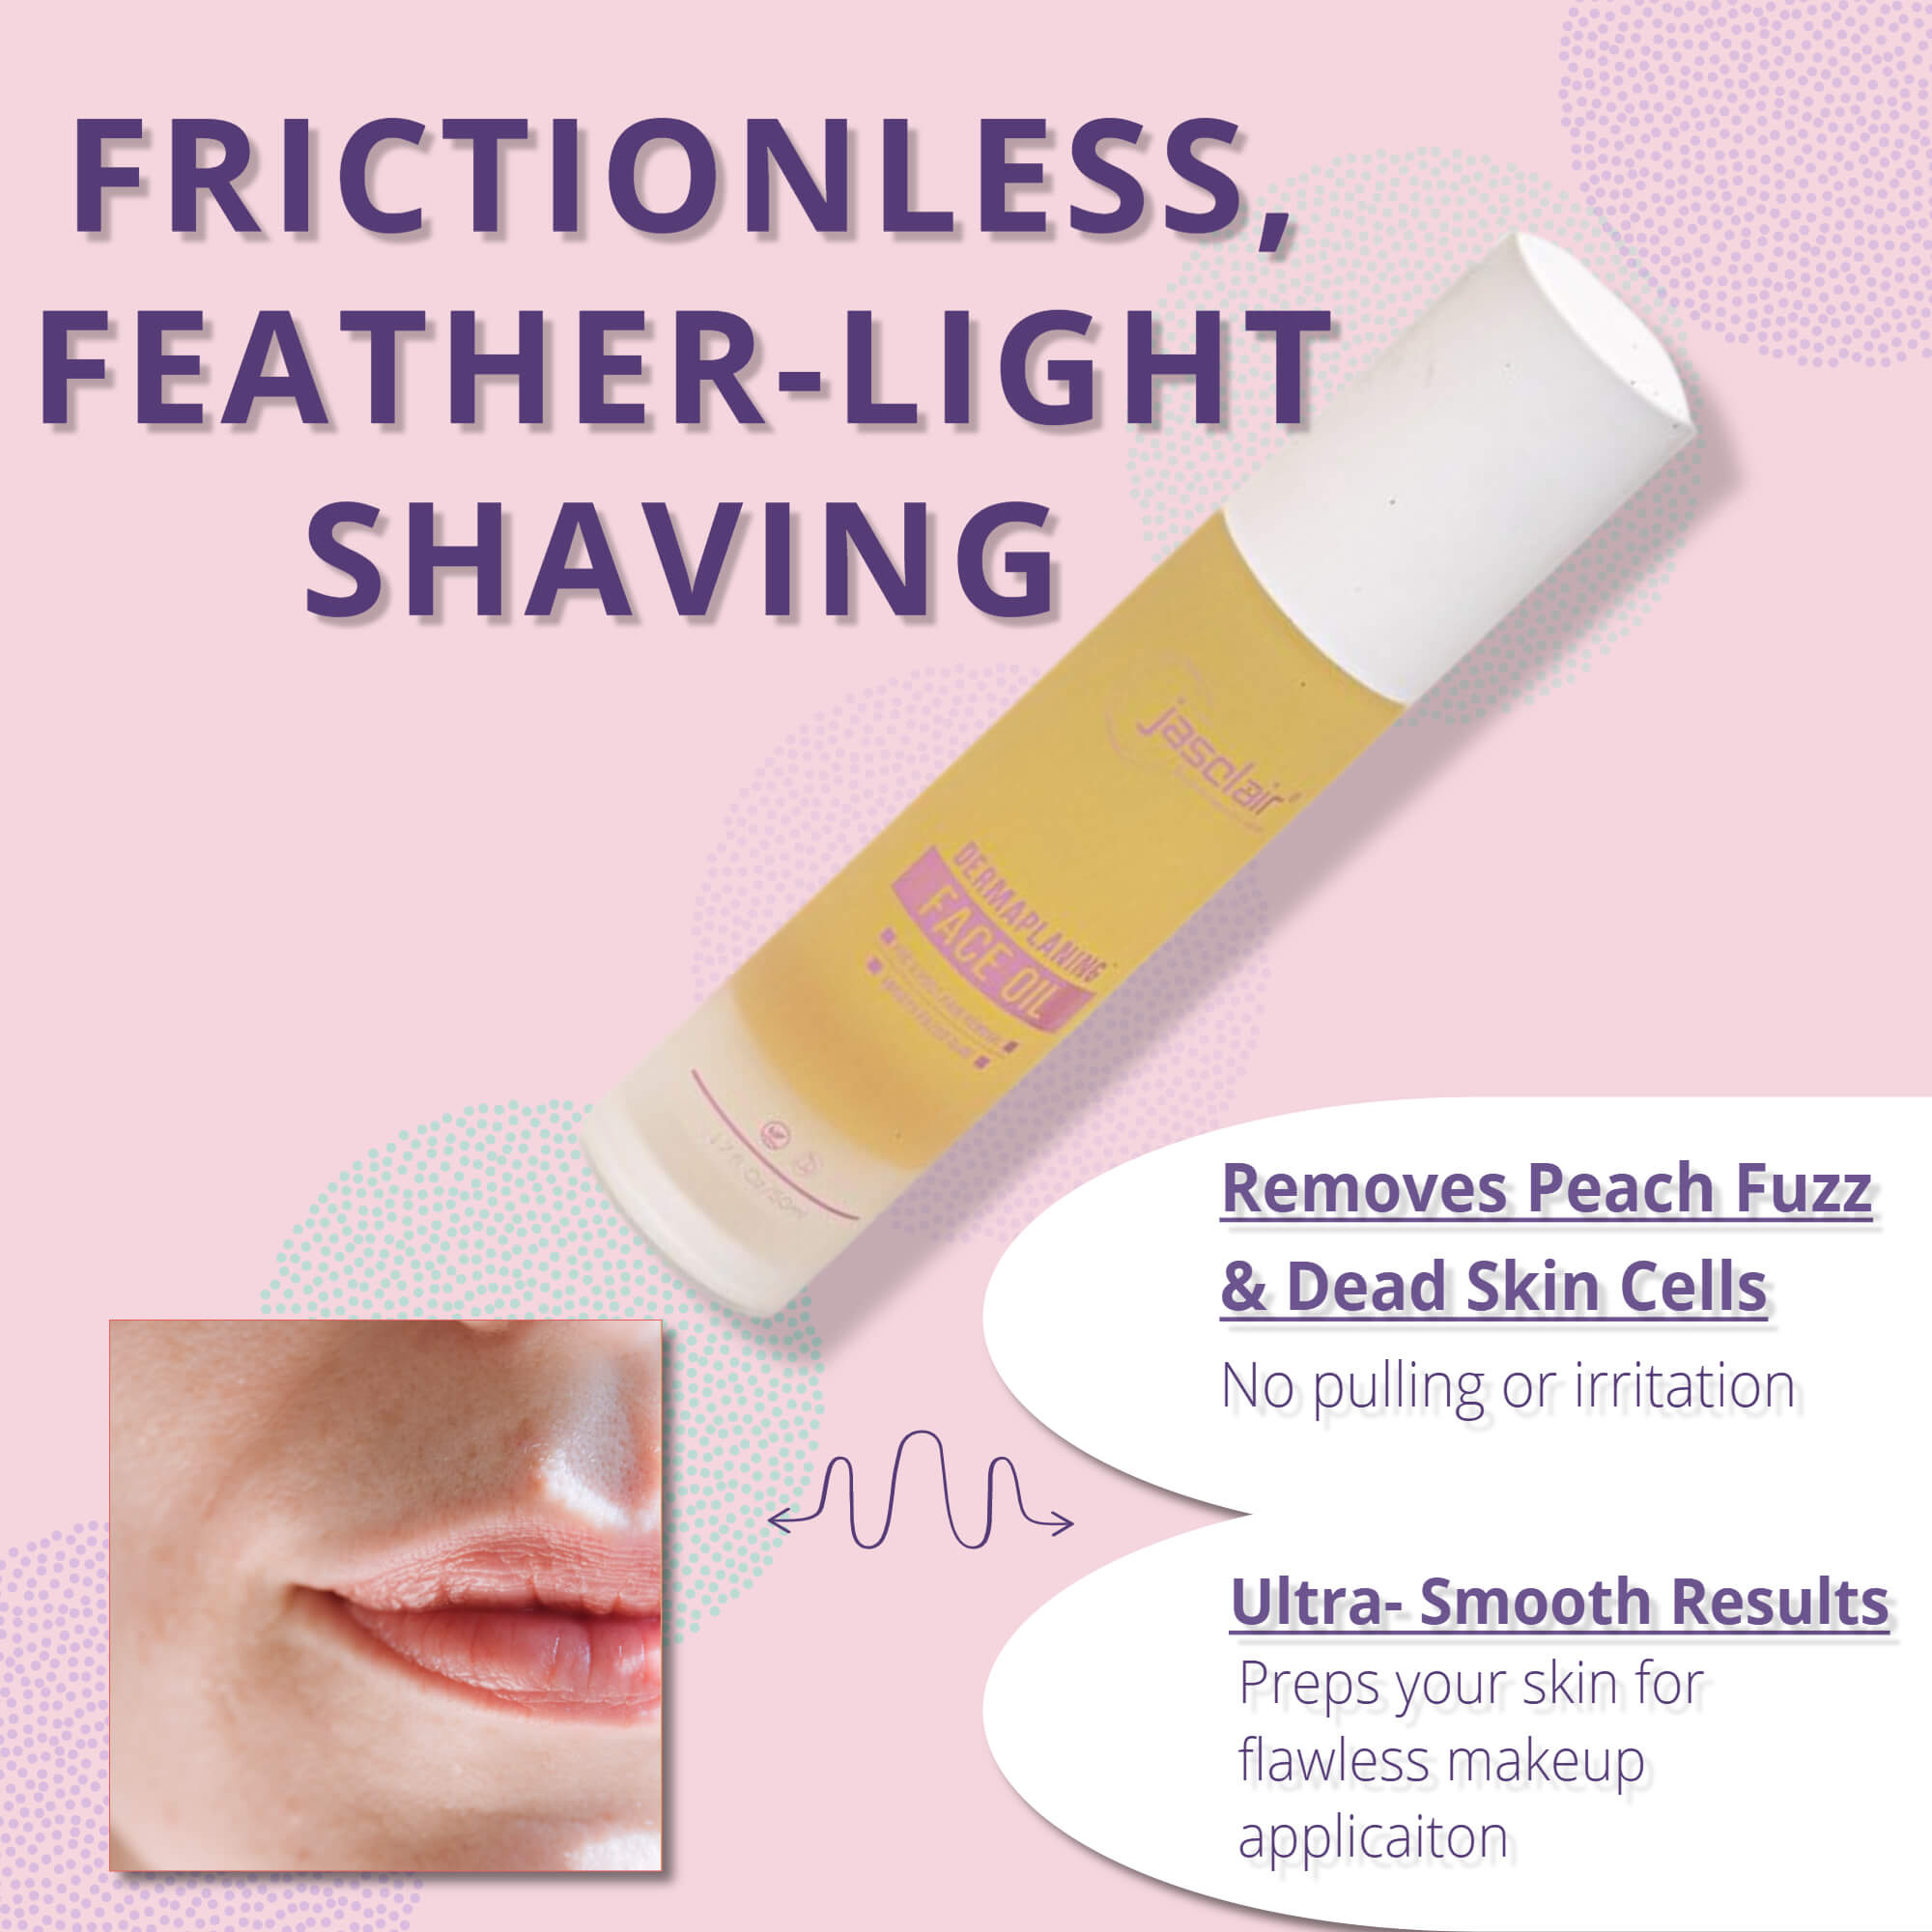
Dermaplaning without oil is like shaving without cream. You can do it. But the results — redness, razor bumps, and that tight, irritated feeling — are a direct consequence of skipping one simple step.
Pre-shave dermaplaning oil creates a protective barrier between the blade and your skin. The blade glides. The skin doesn't catch. The result is a smoother, closer pass with less chance of any irritation.
Why Skin Irritation Happens
When a blade moves across dry skin, it creates friction. That friction causes micro-abrasions — small tears in the surface layer that trigger the body's inflammatory response. The result is redness, raised bumps, and the burning sensation characteristic of razor burn.
Oil eliminates the friction.
A thin layer of pre-shave oil gives the blade a consistent surface to travel over. Instead of catching on dry patches or uneven texture, the blade glides uniformly across the entire surface.
What's in a Good Dermaplaning Oil
Not all face oils are dermaplaning oils. Look for lightweight, non-comedogenic formulas that absorb quickly and don't leave heavy residue on the skin. If you're weighing a single oil, jojoba is one of the better ones to start with — and coconut oil is one to skip.
The jasclair Pre-Shave Dermaplaning Oil formula uses:
- Grapeseed oil — lightweight, high in linoleic acid, fast-absorbing
- Meadowfoam seed oil — excellent barrier-forming properties
- Olive oil (organic) — deep moisturization, rich in squalene
- Cranberry seed oil — high omega-3 and omega-6 content, anti-inflammatory
- Raspberry seed oil — antioxidant-rich (not a substitute for sunscreen — always apply SPF after dermaplaning)
- Vitamin E — strengthens the skin barrier
- Neem oil (organic) — antimicrobial, calming
The formula is unscented, paraben-free, and designed for all skin types including sensitive and acne-prone.
How to Use It
Step 1: Cleanse and dry your face completely. The oil should be applied to clean skin. Any residue from makeup or SPF will interfere.
Dry skin only
Oil goes on clean, dry skin — never damp. Water trapped under the oil breaks the barrier and changes how the blade behaves.
Step 2: Apply 2–3 drops. A little goes a long way. Warm the drops between your fingers and apply a thin, even layer over the area you plan to treat. You want coverage, not saturation — a light film is sufficient.
Step 3: Dermaplane at 45 degrees with short strokes. With the skin taut and a fresh dermaplaning razor at the correct angle, use short, light strokes. You'll immediately notice how different the blade feels on oiled versus dry skin.
Step 4: Rinse. Apply a small amount as aftercare. A final application of oil post-treatment — just a drop or two — helps calm the skin and lock in moisture. If you use a snail mucin recovery serum, apply that first, then seal with the oil.
Tip
If the blade ever starts to drag mid-session, stop and add one more drop of oil rather than pressing harder. Pressure causes nicks; oil restores the glide.
More Than Just Dermaplaning
The oil works as an everyday facial shaving oil for anyone who shaves any part of their face. It's effective as a standalone moisturizer, an eyebrow-shaping aid, and a post-shave treatment for any razor.
It can also substitute for shaving cream when using a safety razor.
The Result
Skin that's been shaved with a proper pre-shave oil feels different. Softer. Calmer. No raised bumps, no tight sensation, no redness.
The oil step adds thirty seconds to your routine. The difference in outcome is significant. It's not optional — it's the step that makes everything else work.