
7 Steps to Dermaplane at Home Safely
A dermaplaning tool is a blade sliding across your face. Done wrong it nicks; done right it is painless and takes under ten minutes. Here is the exact method.
Running a sharp blade across your own face sounds alarming. That is why dermaplaning splits opinion so strongly, and why so many people do it wrong the first time.
Context matters. A dermaplaning razor is not a scalpel. The blade is made for facial use, smaller and safer than a professional surgical treatment. Done correctly at home, it is painless, fast, and produces real results. New to the whole idea? Start with what dermaplaning is.
Here is the exact method.
What you need
- A fresh dermaplaning razor
- Pre-shave oil (optional but strongly recommended)
- A handheld mirror
- Clean, completely dry skin
The 7 steps
Step 1: Get the right razor
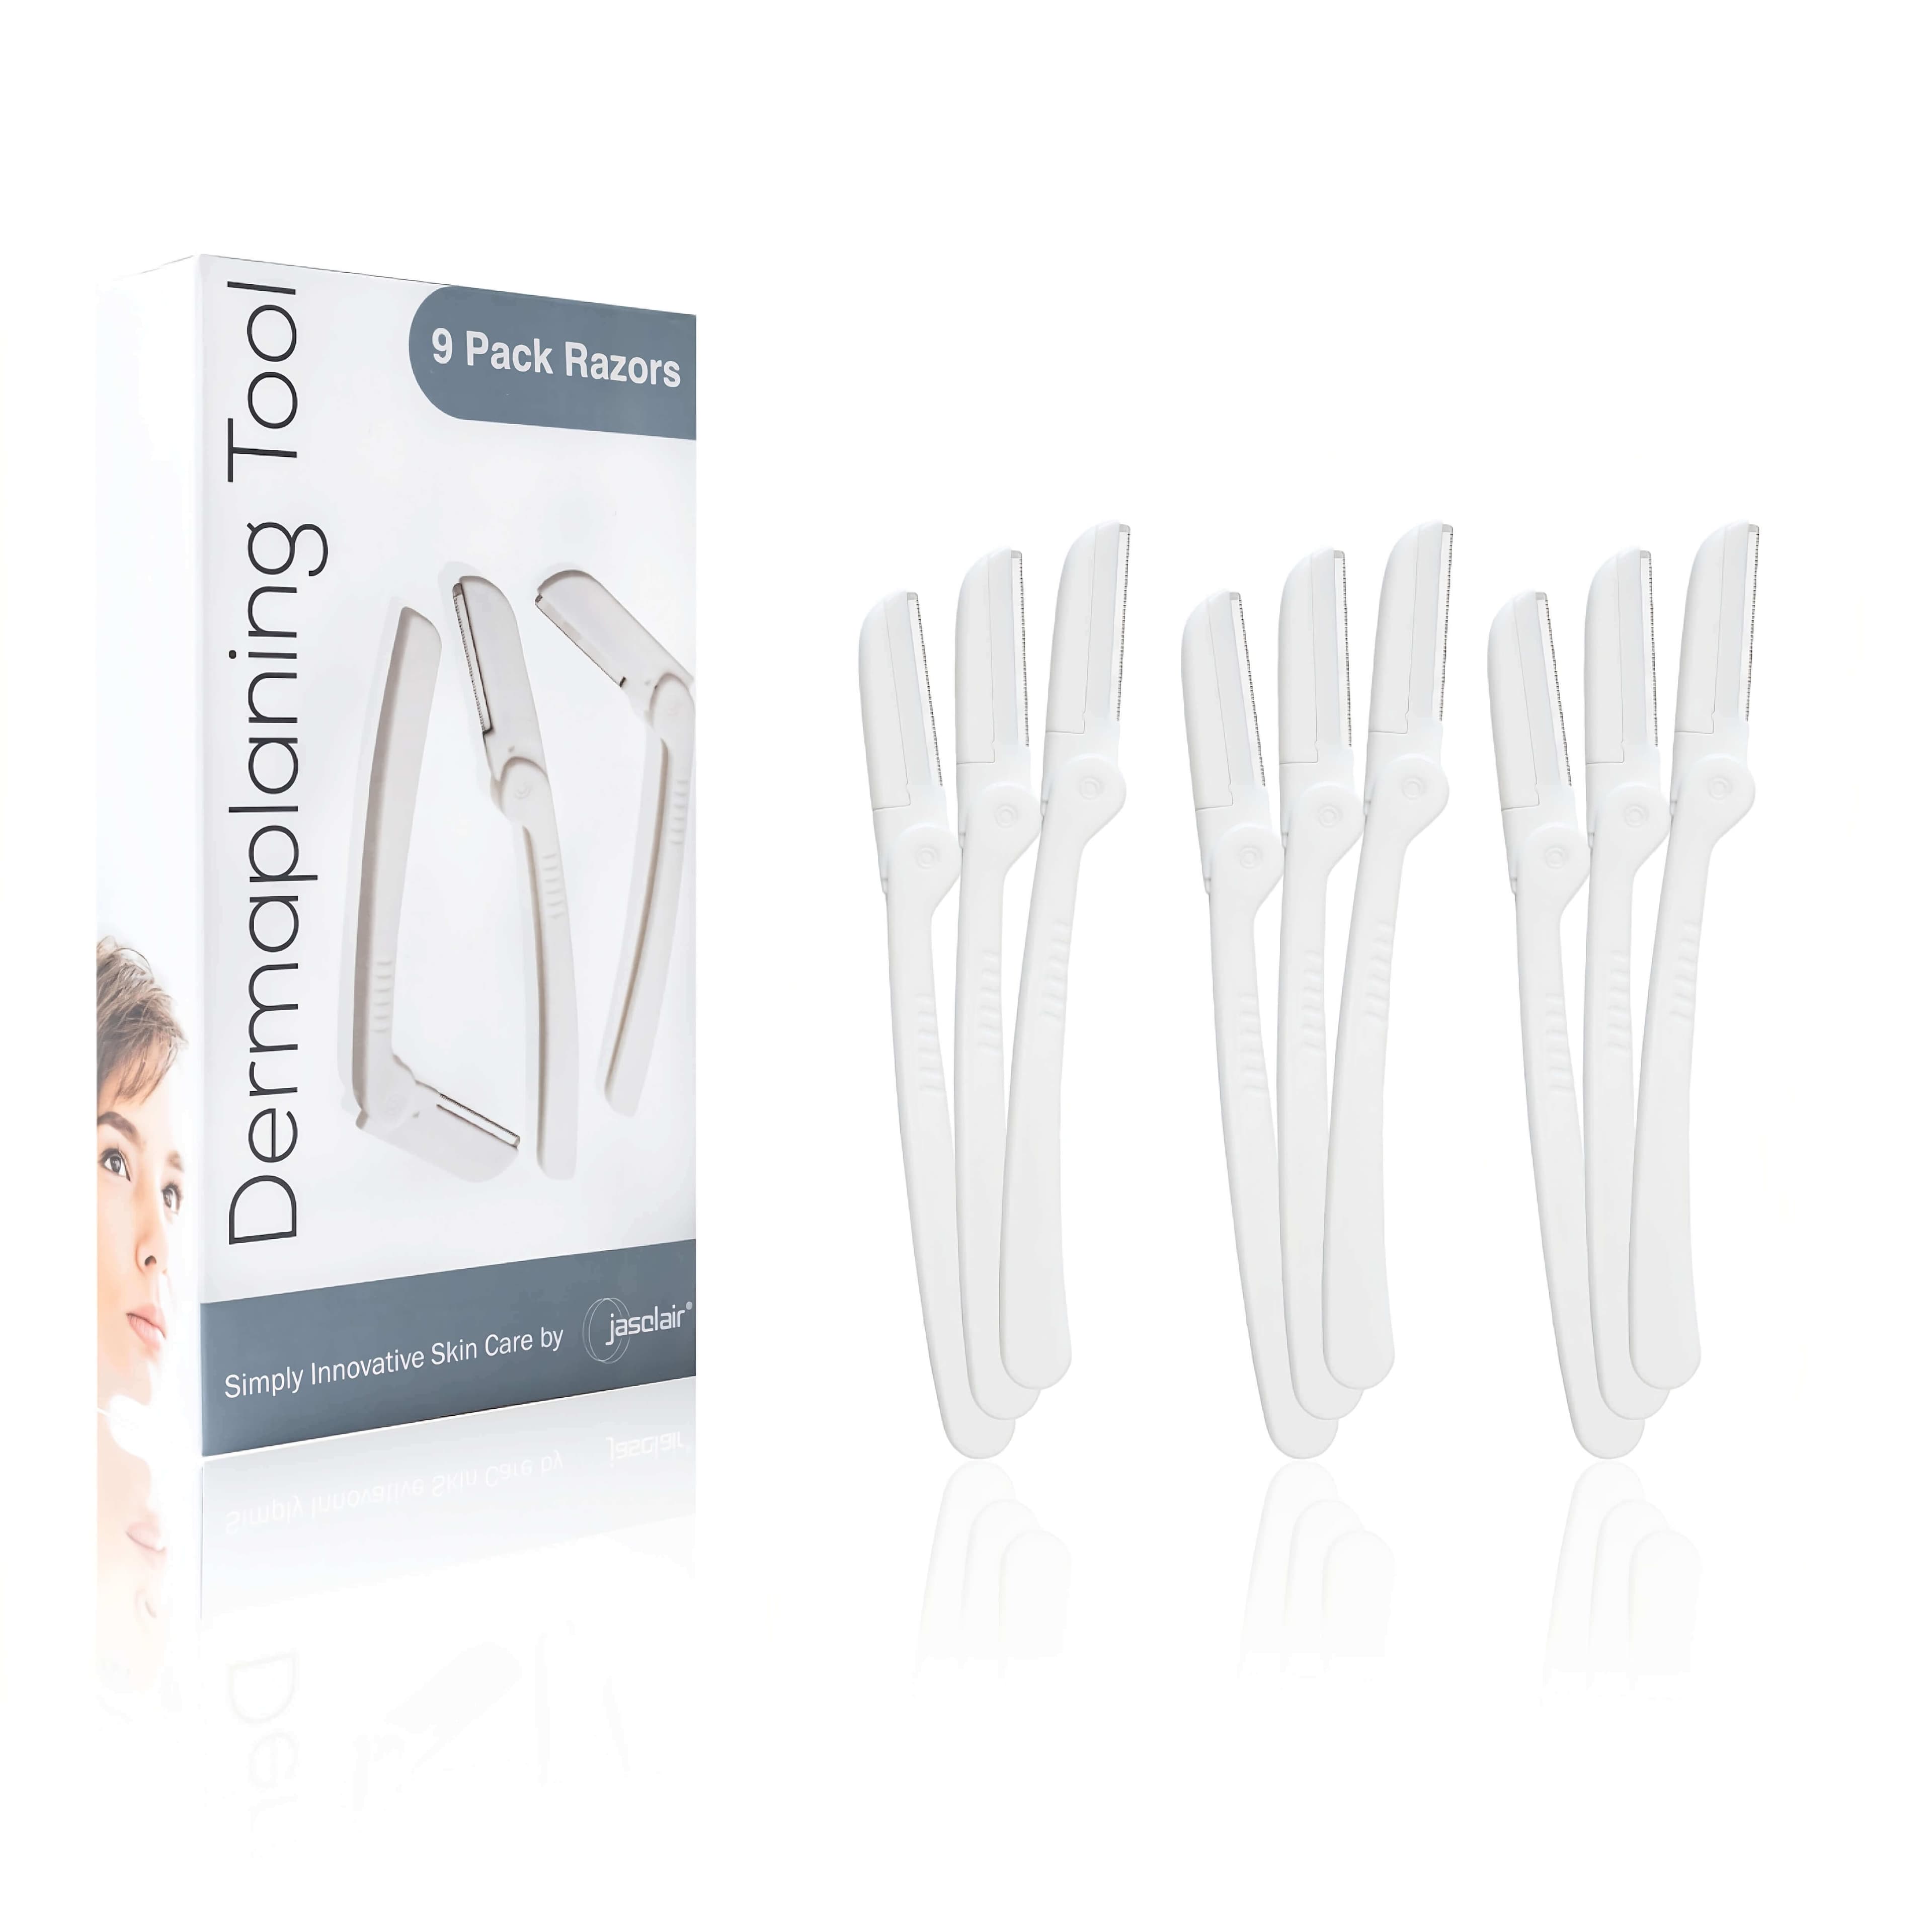
Not all face razors are dermaplaning razors. A dermaplaning tool uses a single-edge blade and a handle angle made for smooth facial contact. The foldable design matters: it protects the blade between uses and makes the angle easier to control.
If you are stocking up, the Dermaplaning Razor 9-Pack works out to about $1.11 per session. The 6-Pack is the same blade in a smaller supply.
Step 2: Wash your face
Remove all makeup, sunscreen, and oil. Any residue interferes with the blade's contact and raises the chance of irritation. Rinse thoroughly, then pat completely dry. The blade should never touch wet skin.
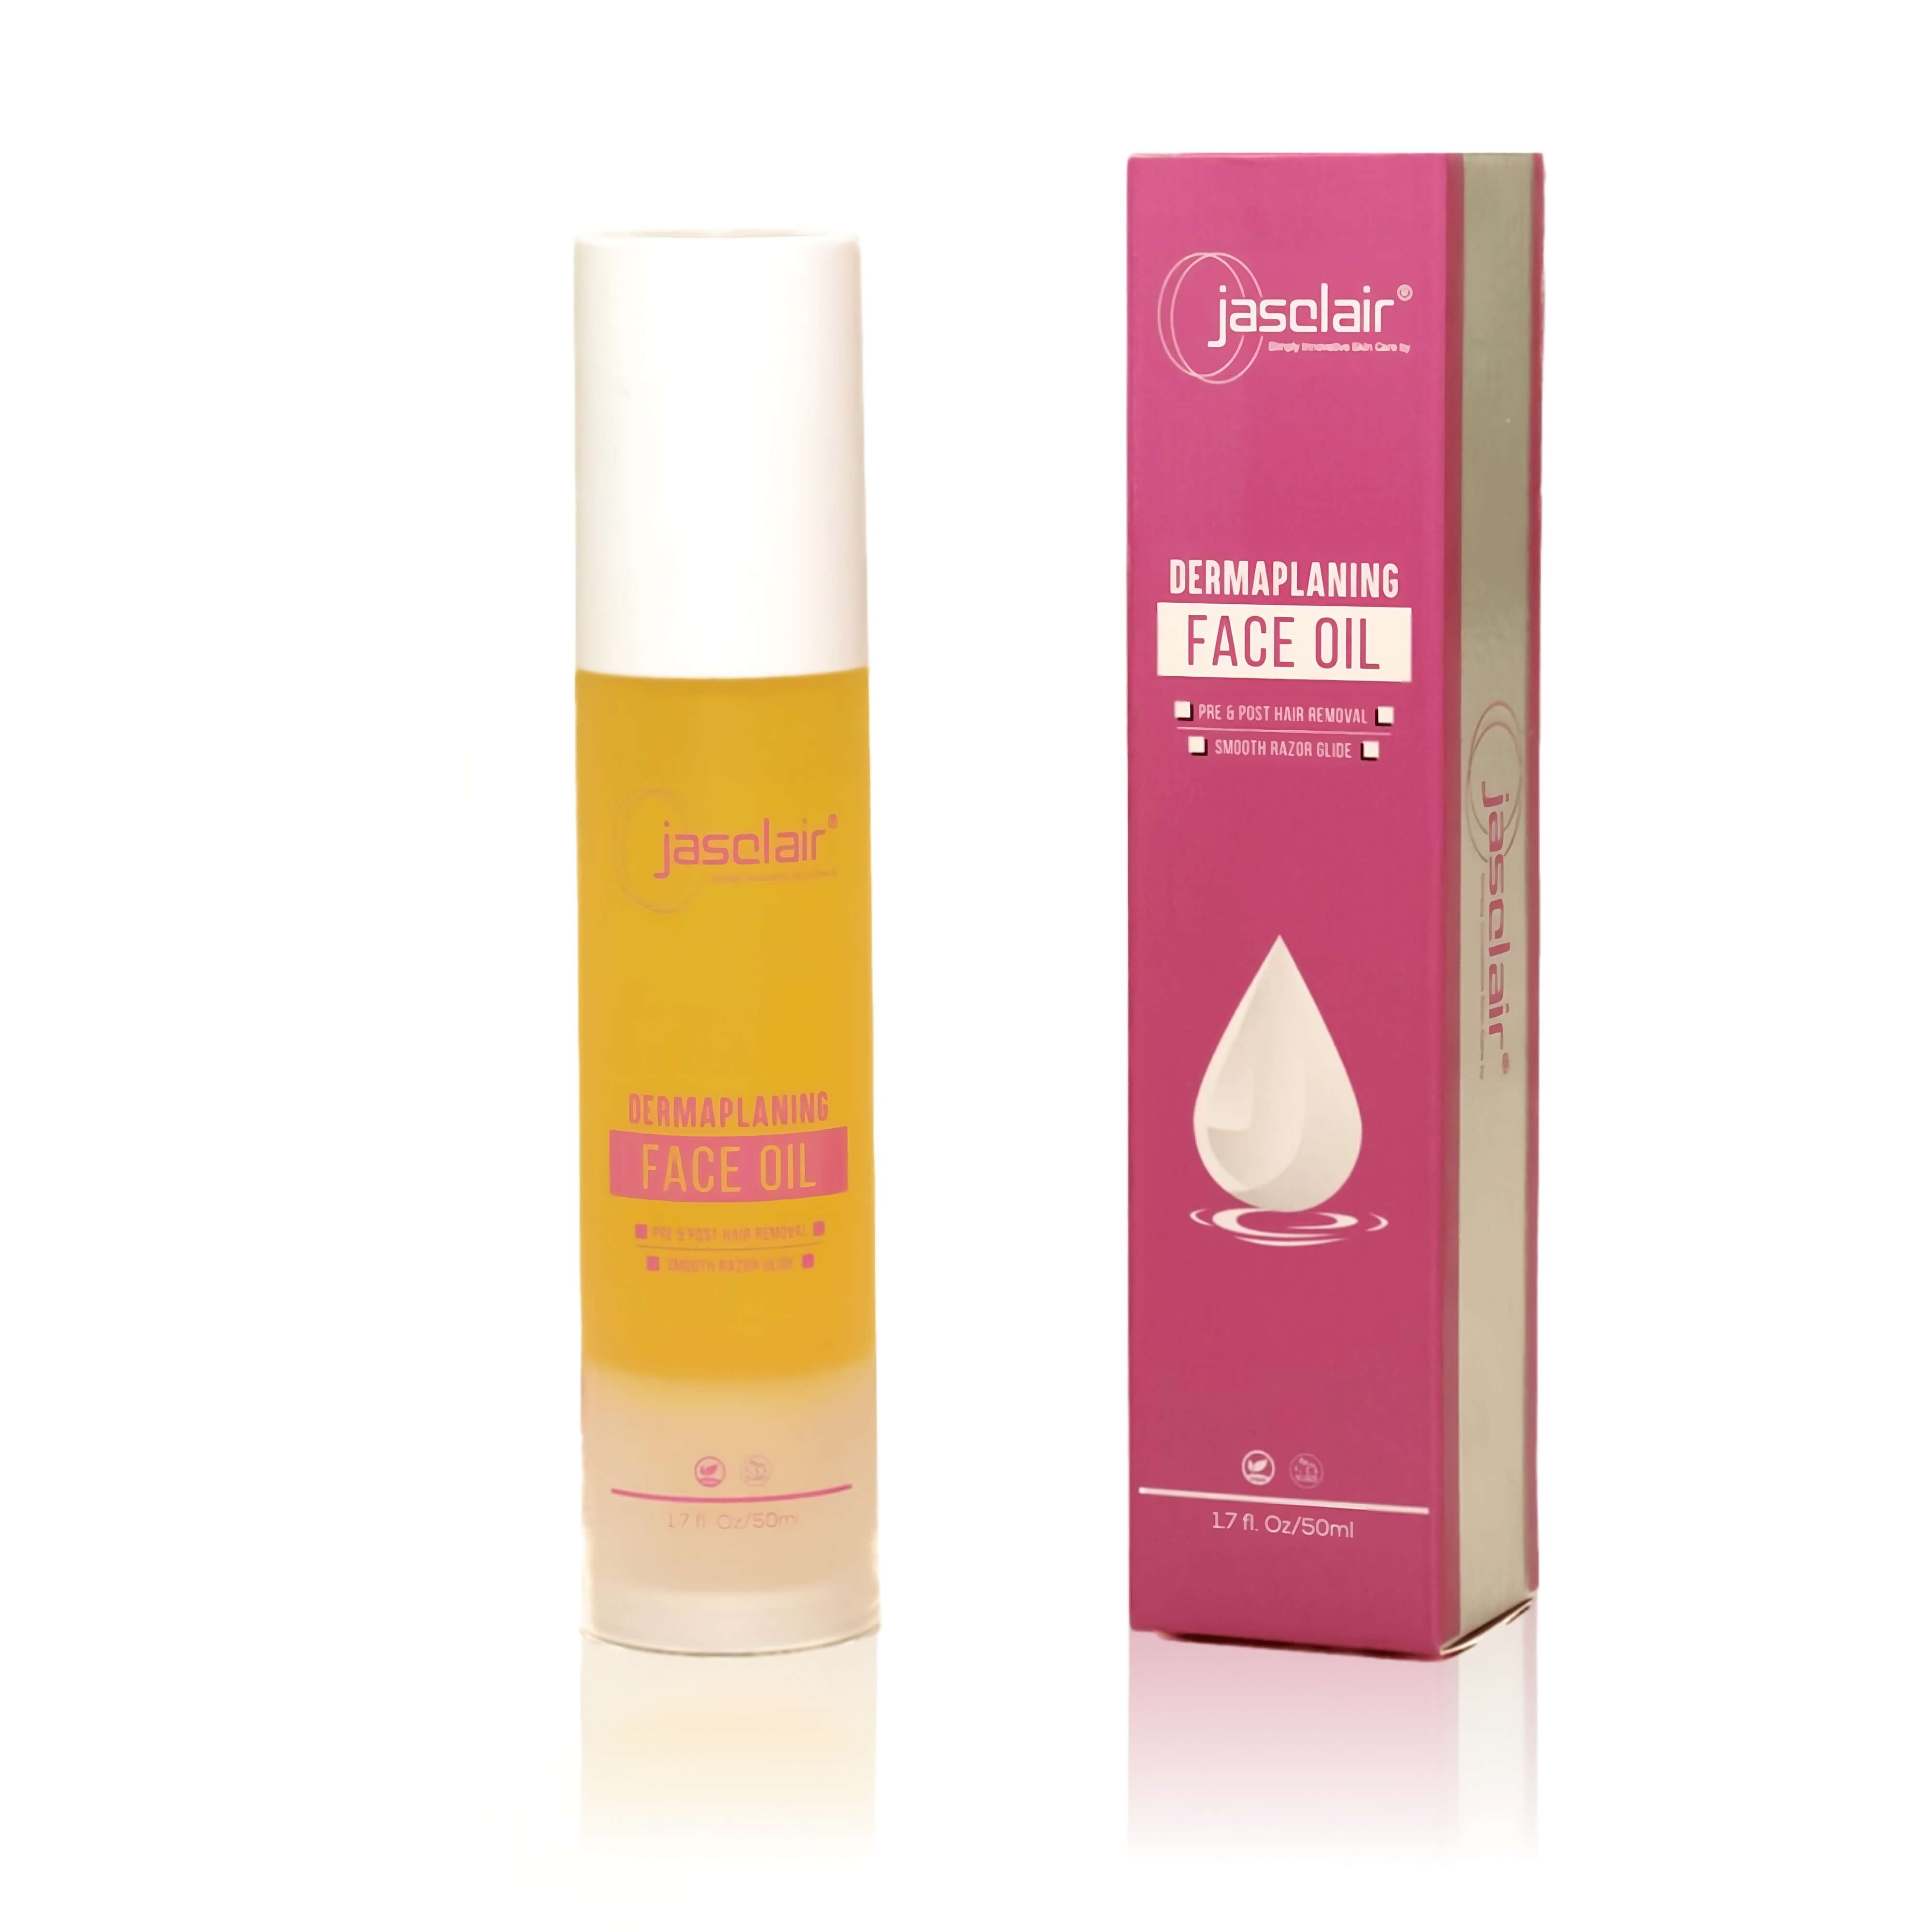
Step 3: Apply pre-shave oil
This is the step most beginners skip, and it is the reason most beginners get razor burn.
Two or three drops of pre-shave dermaplaning oil spread across the area create a low-friction layer between the blade and your skin. The blade glides instead of dragging, which means a smoother pass with less chance of nicks, redness, or bumps. If you are choosing an oil, here are the ones that work and the ones to skip.
Step 4: Hold at a low angle and stroke downward
Hold the razor at roughly a 45-degree angle to your skin, not flat and not upright.
With your other hand, use your thumb and index finger to pull the nearby skin taut, about 1 to 2 inches. This keeps the blade from skipping.
Start with short, downward strokes in the direction of hair growth, using light pressure. Pressing harder does not give a closer pass. It gives cuts.
Step 5: Rinse the blade frequently
After every few strokes, rinse the blade under water. Dead skin and fine hair build up quickly and create drag.

Work through the face in sections:
- Forehead
- Temples
- Cheeks
- Eyebrow area
- Sideburns
- Upper lip
- Chin
Step 6: Second pass against the grain (optional)
Once you have done the full face with the grain, you can go over it again with upward strokes for more exfoliation. Keep the pressure light. If your skin feels sensitive, skip this step for the first few sessions.
Step 7: Cool rinse, then serum
Splash cool water across your face and pat dry gently.
Apply your aftercare products right away, while skin is most absorbent. A snail mucin recovery serum in the first few minutes gives the most benefit.

Avoid direct sun without sunscreen for 48 to 72 hours, and always wear SPF.
Wait before actives
Hold off on AHAs, BHAs, retinoids, and physical exfoliants for 24 to 48 hours after dermaplaning. Freshly exfoliated skin absorbs everything more aggressively, and acids applied too soon cause stinging and redness, not faster results.
How often should you dermaplane?
Every 2 to 4 weeks. Skin needs that long to rebuild after exfoliation. Going more often does not speed up results; it interrupts the healing process and leads to inflammation.
Tip
Start with monthly sessions. If your skin tolerates it well, move to every three weeks.
Common mistakes to avoid
- Dermaplaning on wet skin, which causes drag and irritation
- Using a dull blade (replace every one to two uses)
- Dermaplaning over active breakouts, which spreads bacteria and worsens acne
- Skipping SPF afterward, since freshly exfoliated skin burns much faster
FAQ
Is dermaplaning at home safe? Yes, when you use a purpose-built razor on clean, dry skin at a low angle with light pressure. The blade is far smaller and safer than a professional scalpel. Avoid active breakouts and always finish with SPF.
Do you dermaplane with or against the grain? With the grain first, in short downward strokes. An optional second pass against the grain gives more exfoliation, but skip it on sensitive skin or for your first few sessions.
Does dermaplaning at home hurt? No. At the right angle it is a light scraping sensation, not a pull or a sting. Pain usually means too much pressure or a dull blade.
How often should you dermaplane at home? Every 2 to 4 weeks. Skin needs that long to rebuild the exfoliated layer, and going more often just causes inflammation.
Do you need oil to dermaplane? It is optional but strongly recommended. A few drops of pre-shave oil remove the friction that causes most razor burn, so the blade glides instead of dragging.
The first time I did this I pressed far too hard, sure that more pressure meant a closer pass. It just meant a nick on my jaw. Let the edge do the work.